Using IBM Security Verify: SAML Authentication
Hi everyone,
In this post, we’ll walk through a SAML sign-in scenario using the trial version of the cloud-based IBM Security Verify.
In short, we can use IBM Security Verify for things like authentication, access control, risk-based access control, API security, and similar areas. With SSO, it offers us a very broad range of protocols for single sign-on functionality.
IBM Security Verify gives you a 90-day package to try it out, running on the cloud. We create our own account by signing up at https://www.ibm.com/account/reg/us-en/signup?formid=urx-30041. For the trial version, we can proceed without being asked for a credit card or anything of that sort.
After creating our account, we set up our tenant.
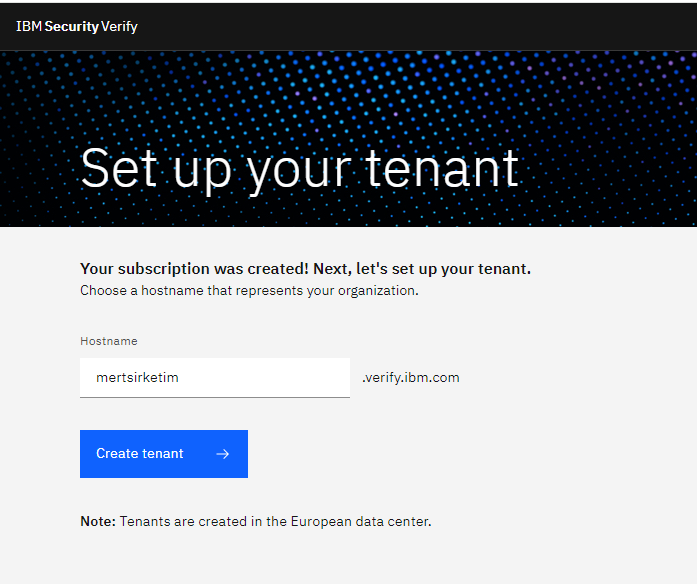
After creating the account, we’ll use the GitHub repo that IBM provides for our test process. To get to the repo, we go to https://github.com/IBM-Security/CI-SAML-Sample.
We clone the repo to our machine. For the repo to run, you need Node.js installed on your system.
git clone https://github.com/ajcase/CI-SAML-Sample
cd CI-SAML-Sample
npm install
npm start
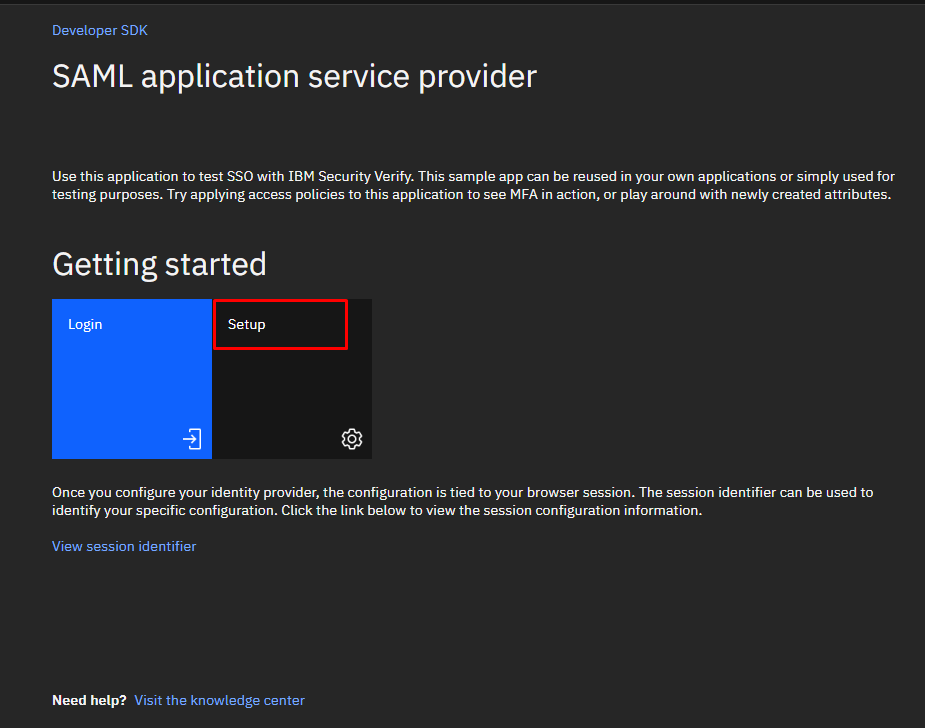
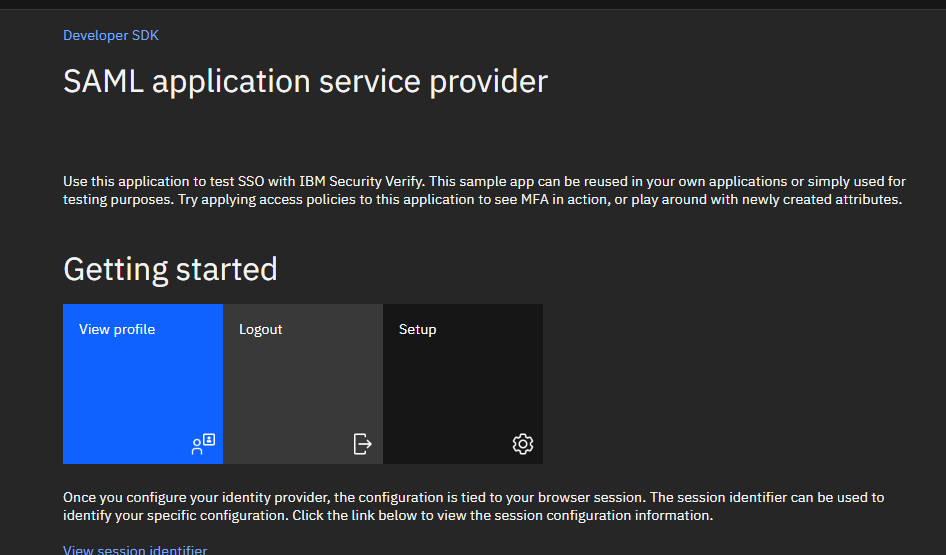
With the npm start command, we started our Node.js app at https://localhost:3006/. After starting the app, we’re greeted by the page shown in the screenshot below.
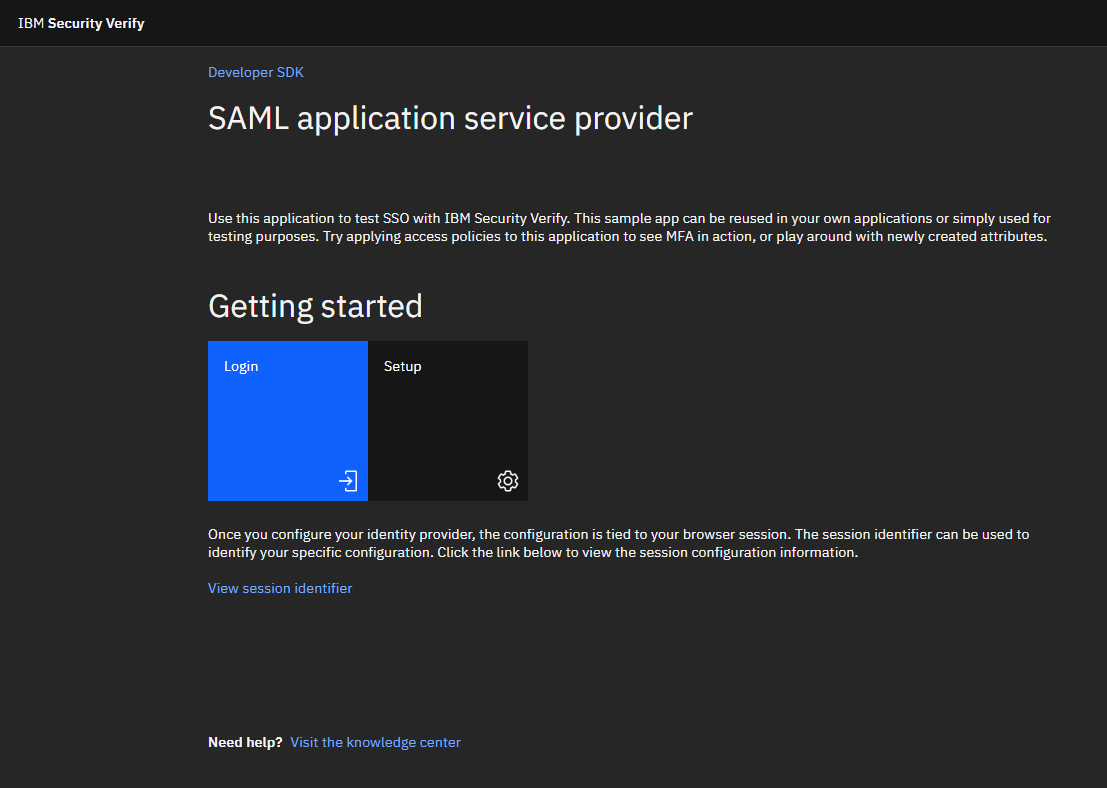
Since IBM shares this app as a walkthrough, we’ll be able to get through the setup stage quite quickly.
We go to https://[your-tenant-address].verify.ibm.com/ui/admin?walkme=19-601875 to reach our IBM Security Verify Cloud Admin Dashboard. In the tenant address section, remember to remove the [] brackets and put in your own address. You can log in with your email and password.
After logging in, we move on to creating an application. In the left-hand menu, we click the Applications tab under Applications.
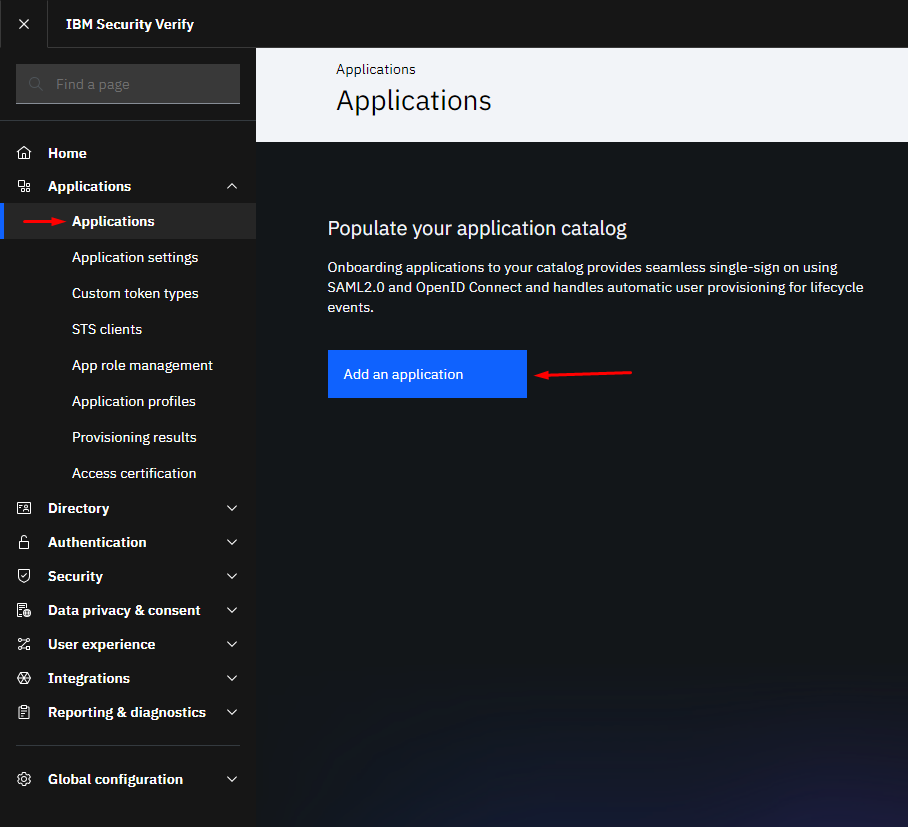
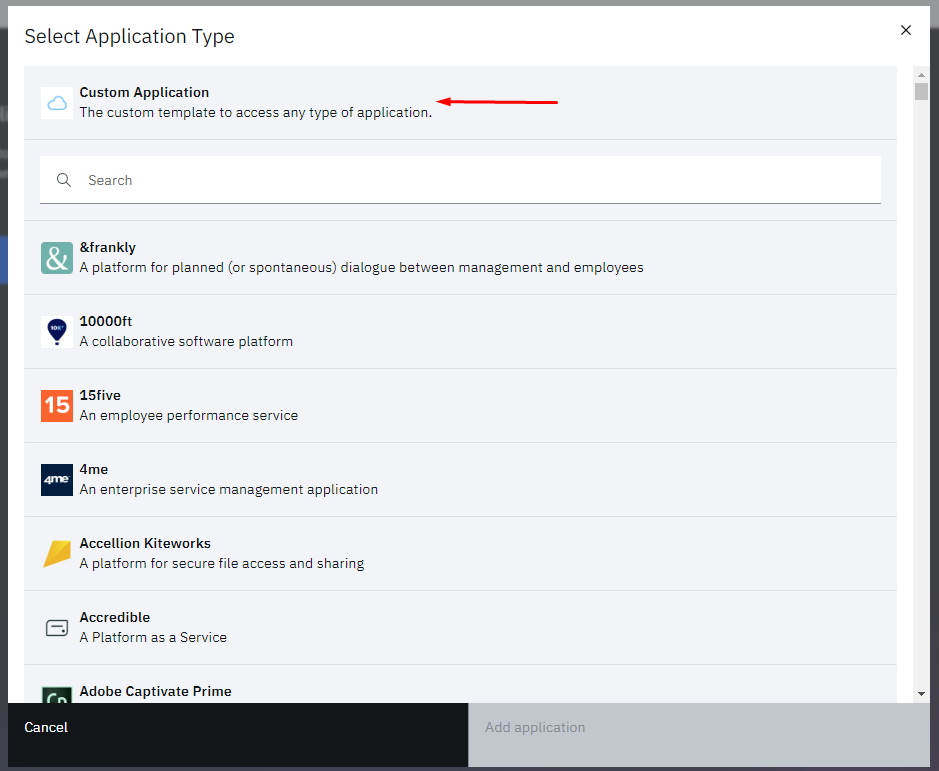
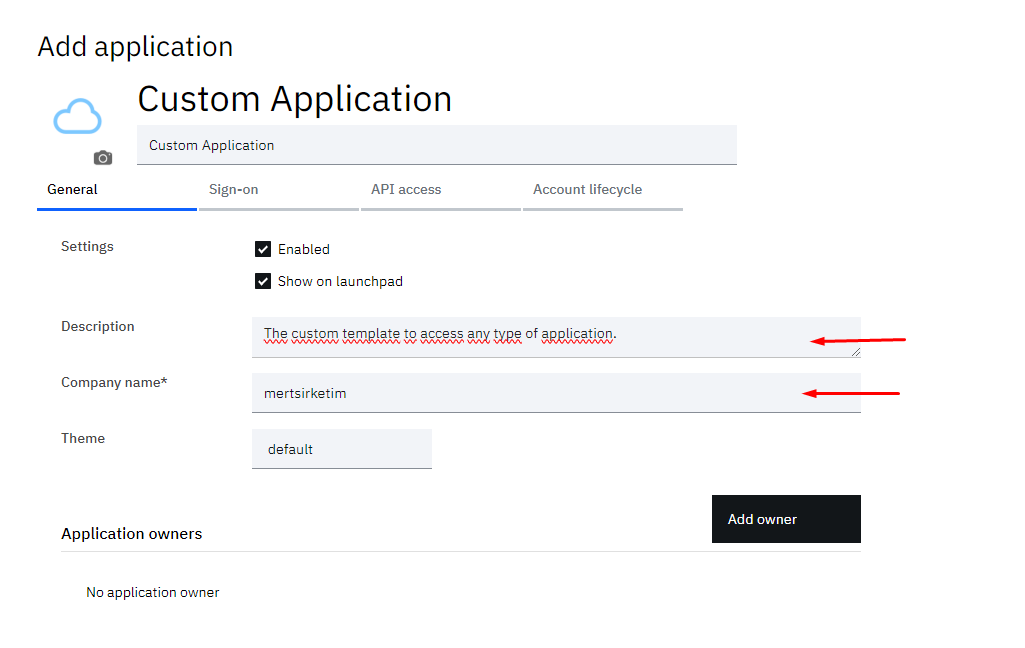
Next we select Add Application. At this step, we go with a custom application.
To create our application, we fill in the fields highlighted in red in the screenshot. We fill in the Description and company name fields.
After that, we move to the Sign-On tab. On this tab we’ll grab the information in the area I’ve marked in red.
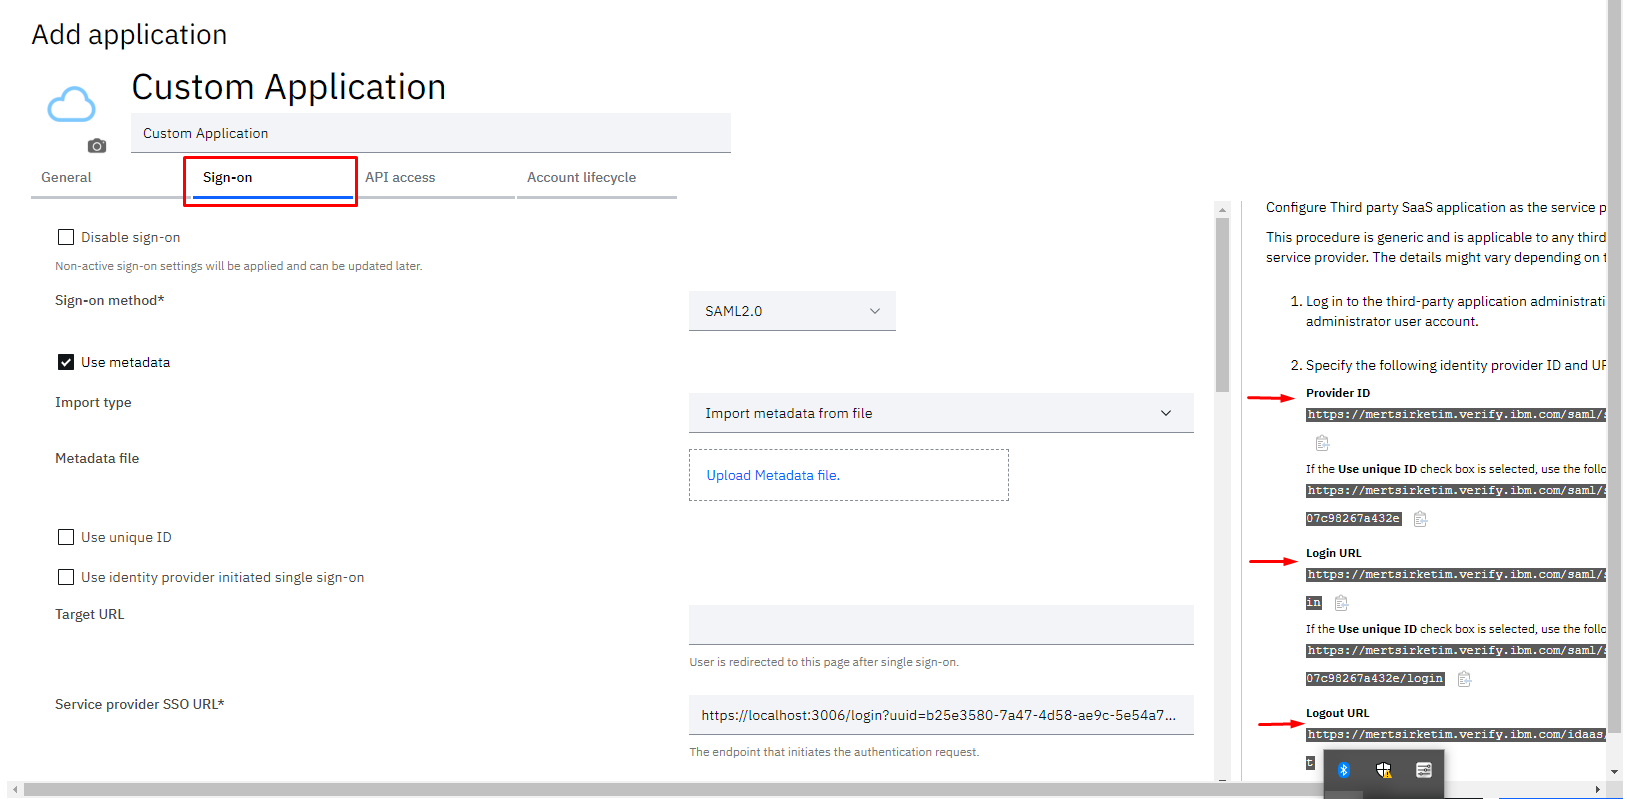
We’ll use this information to fill in the setup fields on our own localhost address. After logging in to our address, we click into the setup section.
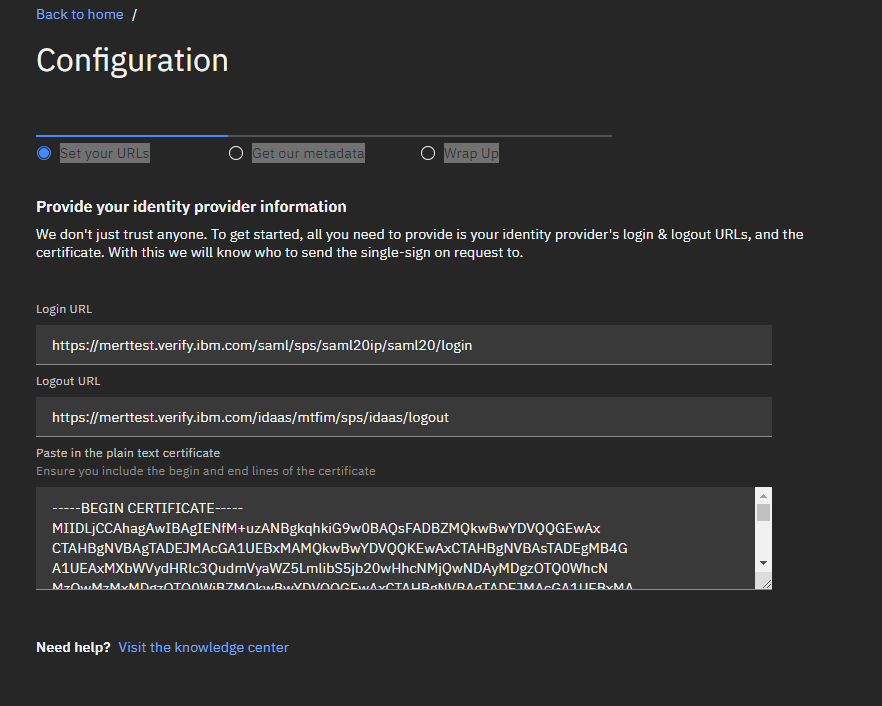
We paste the information we copied earlier into the corresponding fields in the setup section. The —–BEGIN CERTIFICATE—– block also appears a bit further down in the same screenshot we copied from above. We paste that into its field as well.
After clicking next in the top right, we continue with our settings. Using the Download metadata option shown in the screenshot, we download our information. We’ll also use the address from the Single Sign-On (SSO) URL field on the next screen.
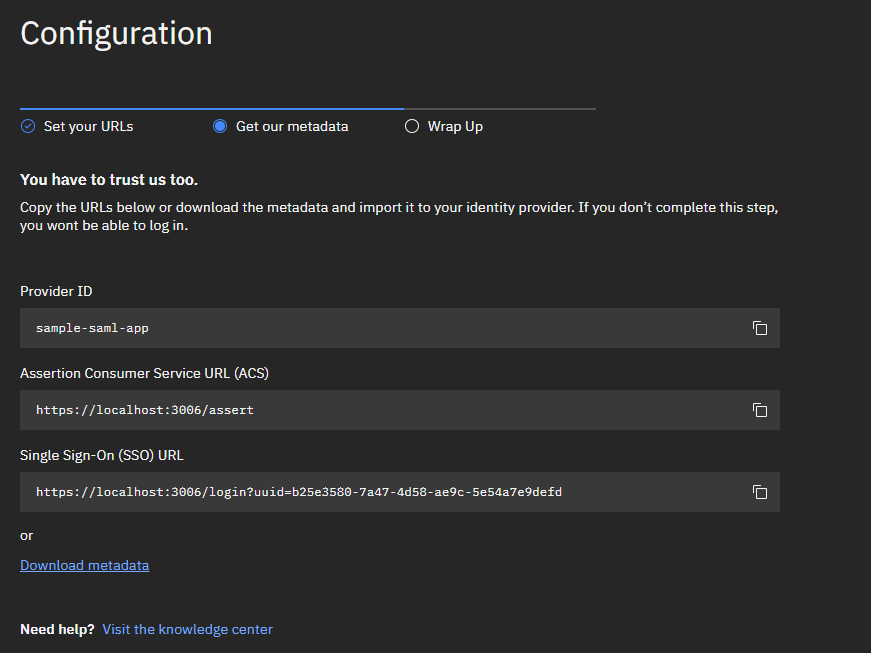
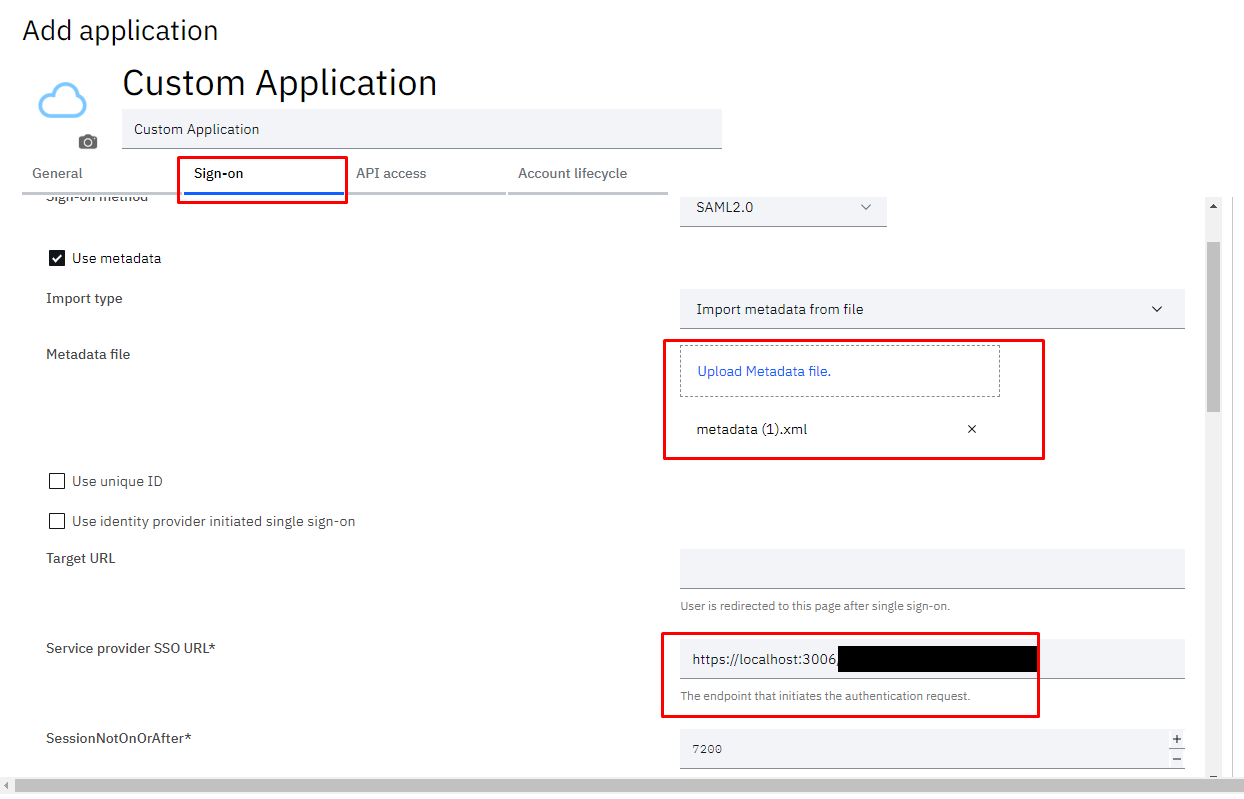
We go back to the IBM Security Verify Admin screen, and after pasting our file into the right place on the Sign-On tab, we also paste in the Service Provider SSO URL we copied.
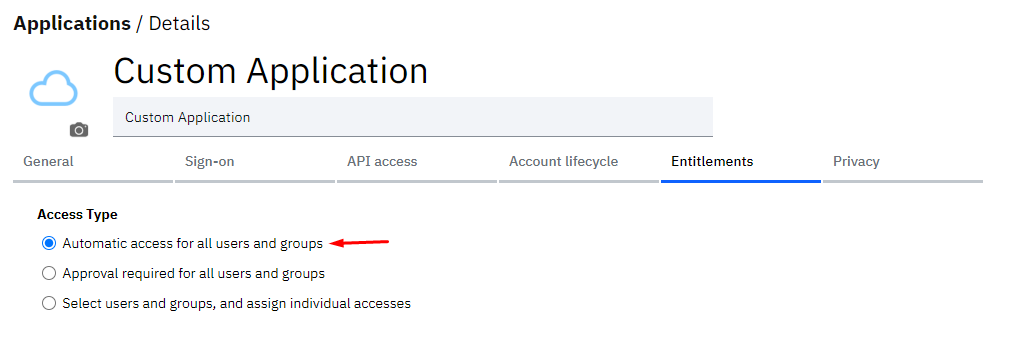
In the last step, we can configure who has access to the application. For now, let’s allow all users already registered in the system to access it.
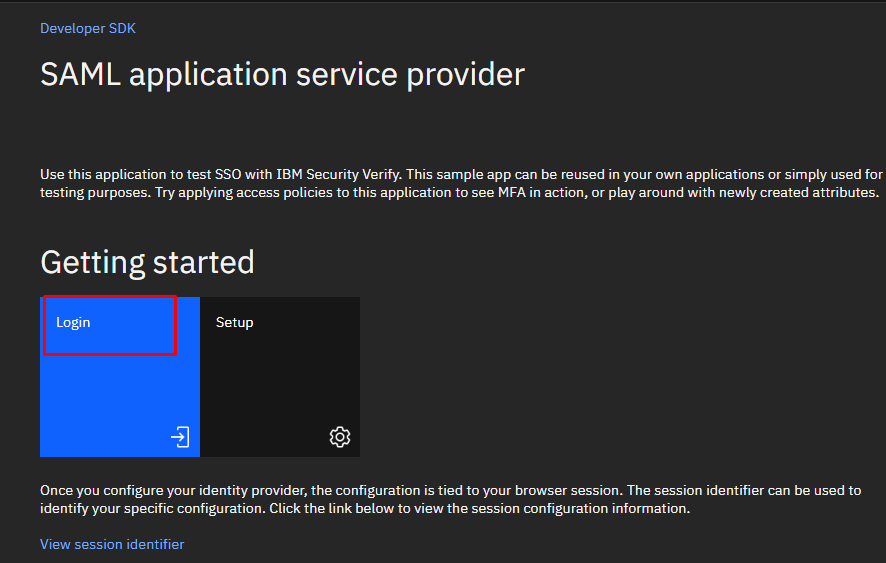
Once that’s done, let’s click save on the localhost side to complete the registration. Now everything is ready, and we’re able to sign in to different applications using a single session. Since we’re already signed in to our IBM Security Verify account, we go back to the home page on our localhost site and click the login button.
Our Service Provider — our application — checks with the Identity Provider whether our identity has been verified, and since we already signed in and authenticated earlier in the IBM Security Verify Admin panel, we end up signed in to our application without needing to log in again.
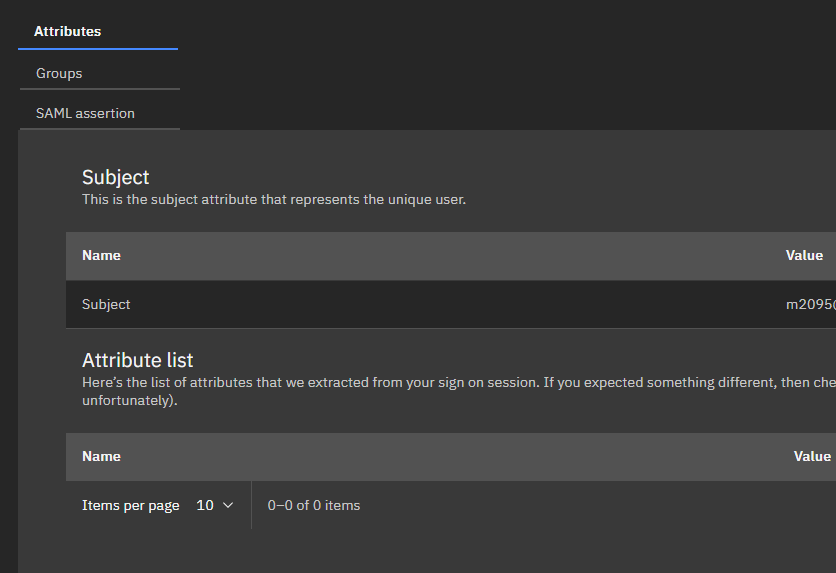
By clicking View profile, we can access detailed information about the user.
Another nice feature is that we can use our home dashboard to access all of the applications we’ve created via SSO. Let’s go to the page at https://[your-tenant-address].verify.ibm.com/usc, using the tenant address we created.
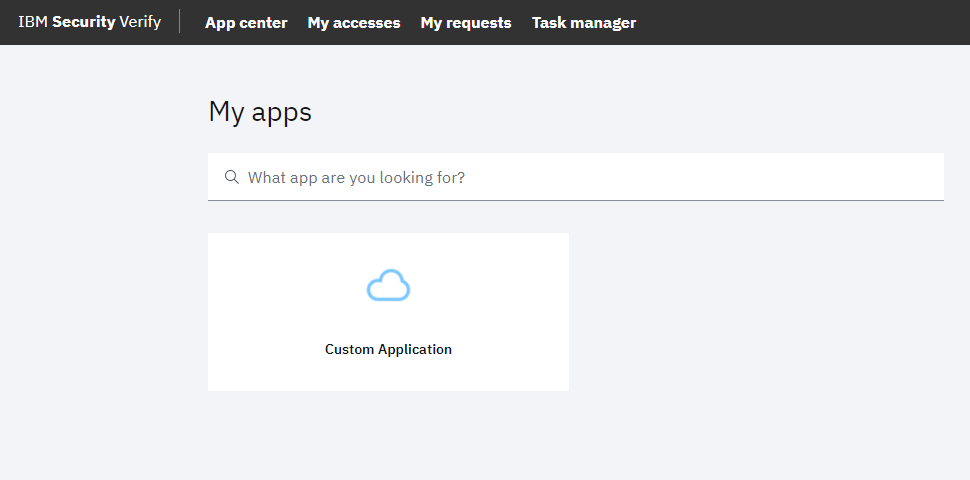
After logging in to the dashboard, clicking on the Custom Application we created takes us directly to that application, already signed in via SSO.
By following these steps, you’ve successfully completed a SAML integration with IBM Security Verify. Now, using single sign-on (SSO), you can make your users’ authentication processes more secure and more efficient.
To explore the other features IBM Security Verify offers and dig deeper into identity management solutions, you can check out the following resources:
IBM Security Verify Documentation IBM Developer – Identity and Access Management IBM Security Verify Community Thank you for trying out IBM Security Verify and learning about SAML integration with me. If you have any questions or comments, please leave them below.